2) Add Shopify Web Pixels
Signifyd customers using Shopify can deploy Signifyd's device profiling scripts on checkout and post-purchase pages via Web Pixels when the standard device profiling script process is insufficient or inapplicable. A member of Signifyd's Solutions Delivery team will advise you if web pixel installation is advisable for your storefront.
How to Install
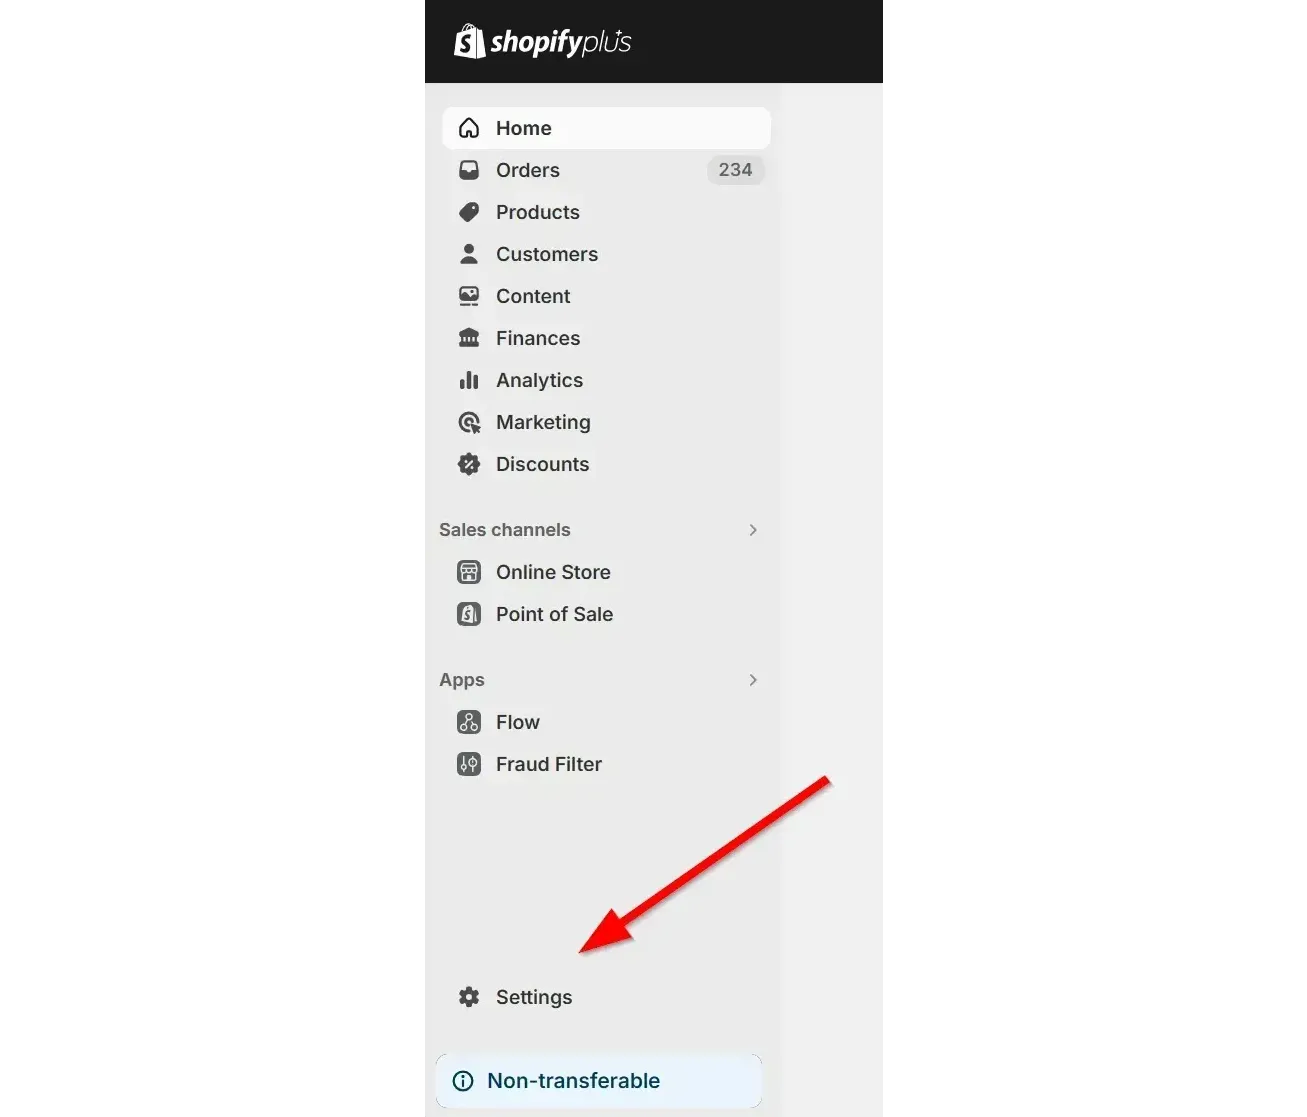
Step 1
Select Settings in the bottom left corner of the Shopify admin.
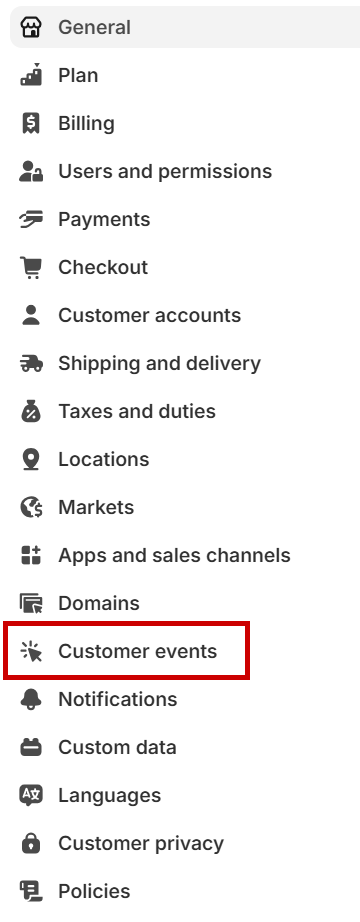
Step 2
Select "Customer Events"
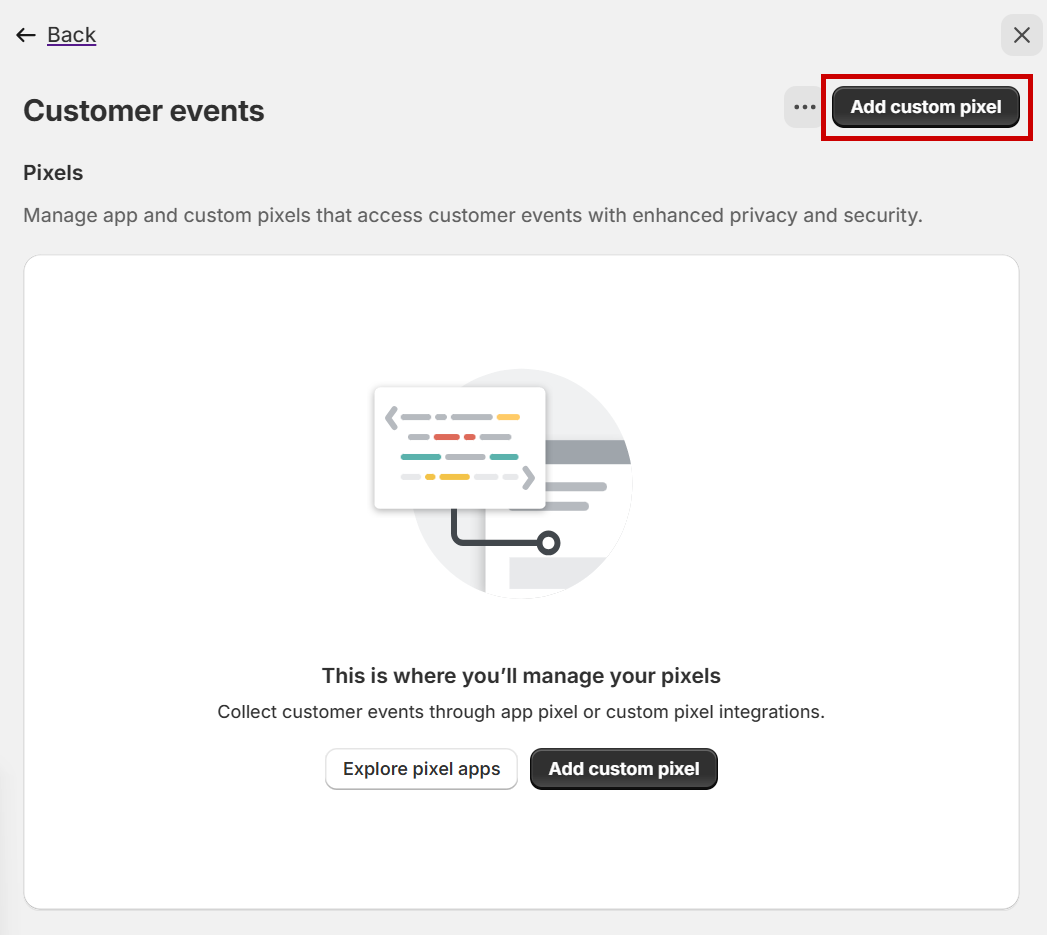
Step 3
Select "Add custom pixel"
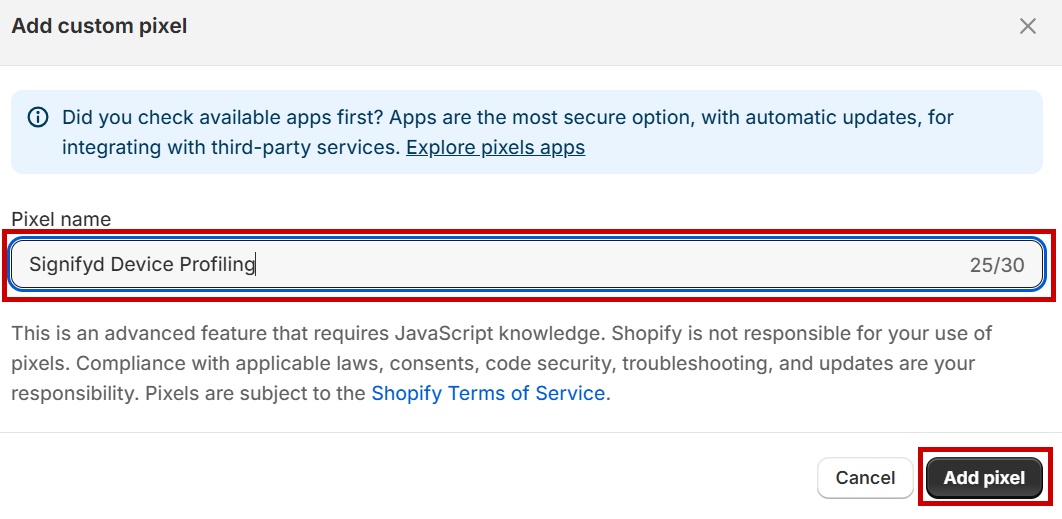
Step 4
Provide a name the pixel and choose "Add pixel":
Step 5
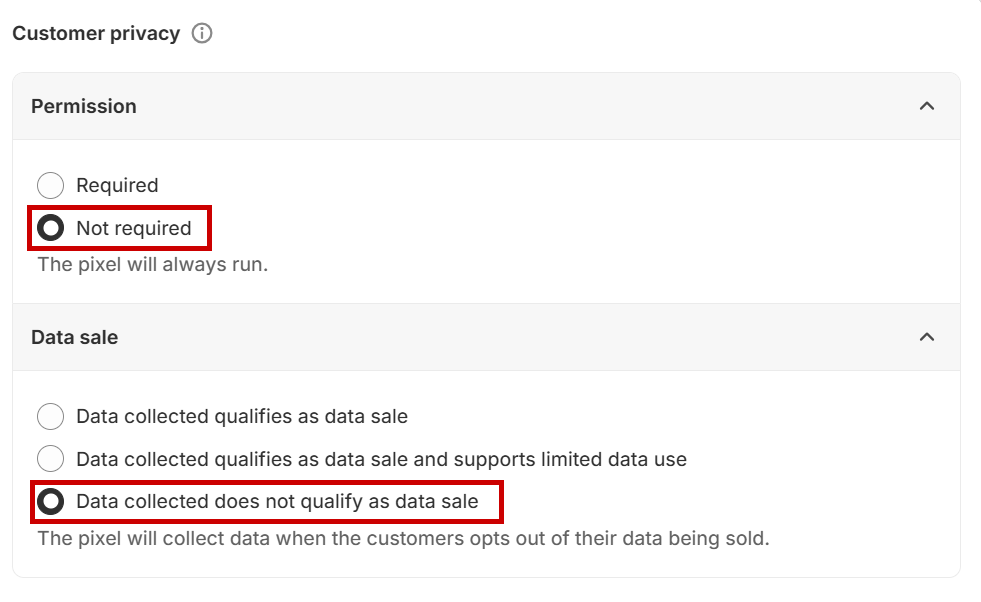
Select "Not required" for the permission section and "Data collected does not qualify as data sale" for the Data sale section.
Step 6
Copy and paste the script provided below
const initScript = (shop) => {
  window.Shopify = window.Shopify || {};
  window.Shopify.shop = shop;
  const script = document.createElement("script");
  script.defer = true;
  script.type = "text/javascript";
  script.src = "https://cdn-scripts.signifyd.com/shopify/script-tag.js";
  document.head.appendChild(script);
};
analytics.subscribe("page_viewed", (event) => {
  const shop = init.data.shop;
  if (/\/(?:checkouts|.+\/orders)\//i.test(location.pathname)) {
  initScript(shop.name);
  }
});
Step 7
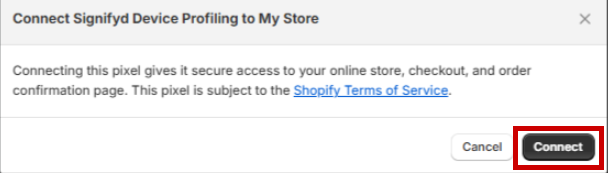
After pasting the script into the box as shown in the previous step, select "Save" at the top of the page and then select "Connect" at the bottom of the page. A popup message will appear asking you to confirm. Click "Connect".

The script needs to be saved before you will be able to select "Connect".
Once this is complete, the Custom Pixels will be added to the 'Checkout' & 'Thank you / Order Confirmation' pages.
Troubleshooting tips
Verify Web Pixels properly deploys the script to the Checkout page
-
Via Checkout Page
- Open Google Chrome and go to the checkout page.
- Right-click and select "Inspect" to open Chrome Developer Tools.
- Go to the "Network" tab and refresh the page.
- In the filter input, type "script-tag." You should see a reference to the Signifyd Script Tag.
If done correctly, you should see two references to the Signifyd Script Tags:
script-tag.js?shop=<<shop domain>> (script injected through the App Installation)
and
script-tag.js: (script injected through Custom Pixel. This confirms the script was added correctly).
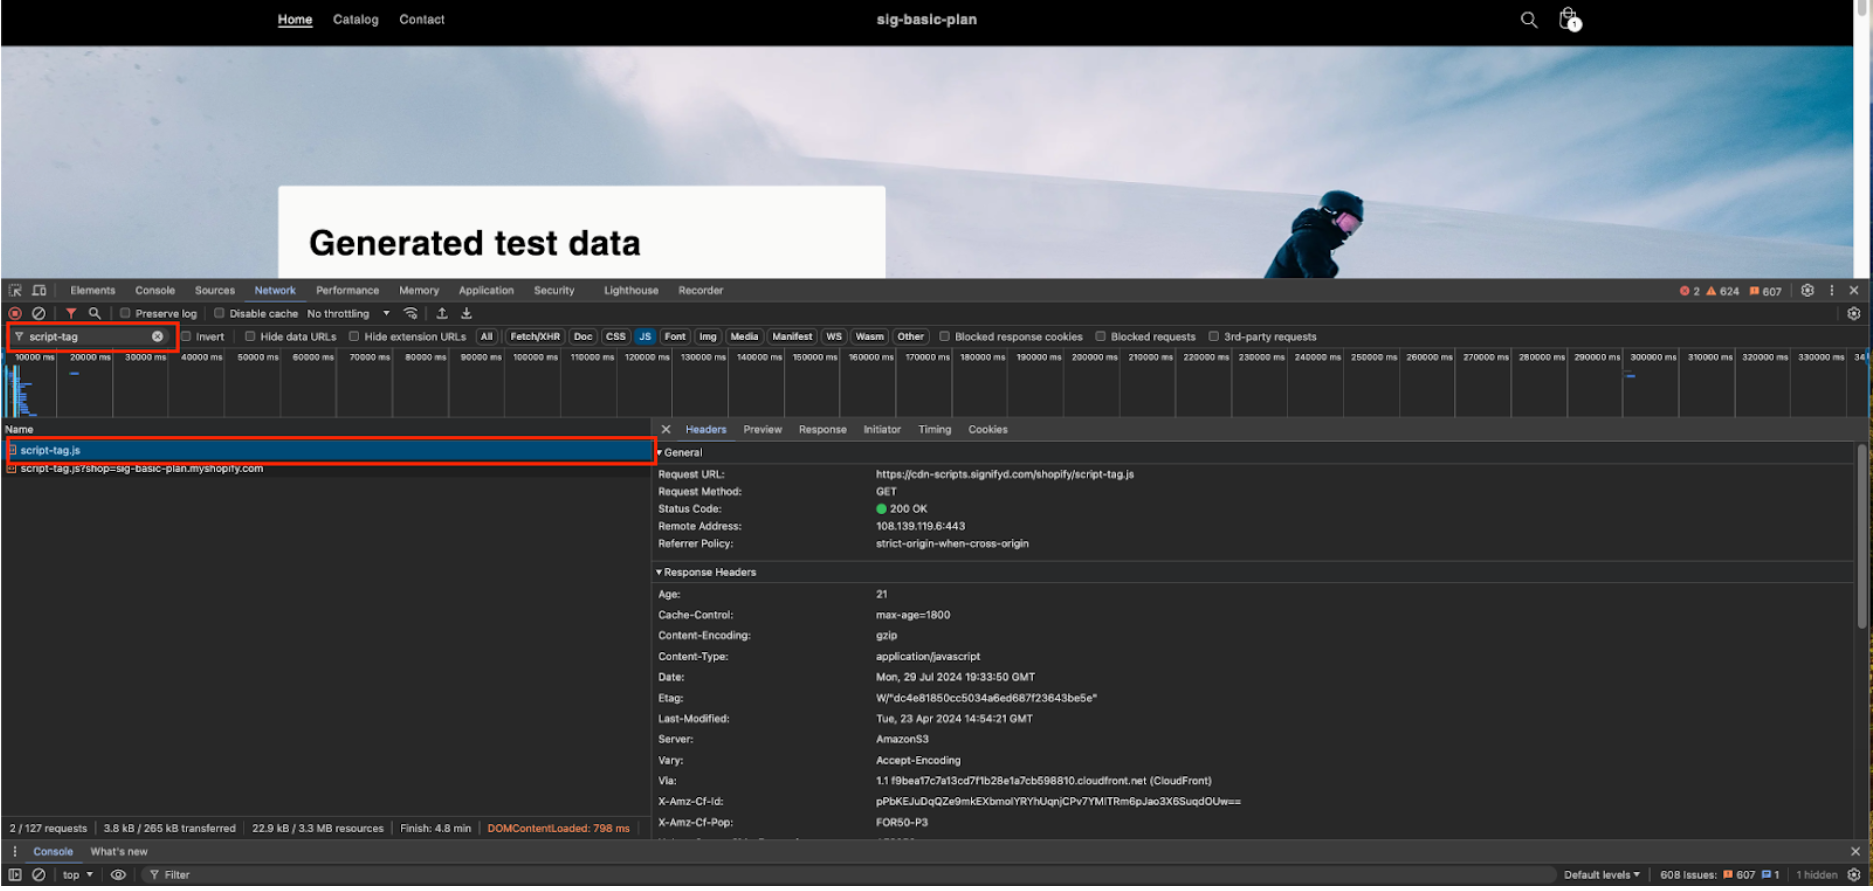
This indicates that Signifyd's device profiling script is being successfully requested and loaded via the browser.
Updated 3 months ago